.png)

During the onboarding process on the Senya app, you will be guided on how to schedule a fingerprint background check. This page has step-by-step directions with screenshots to help you navigate that process.
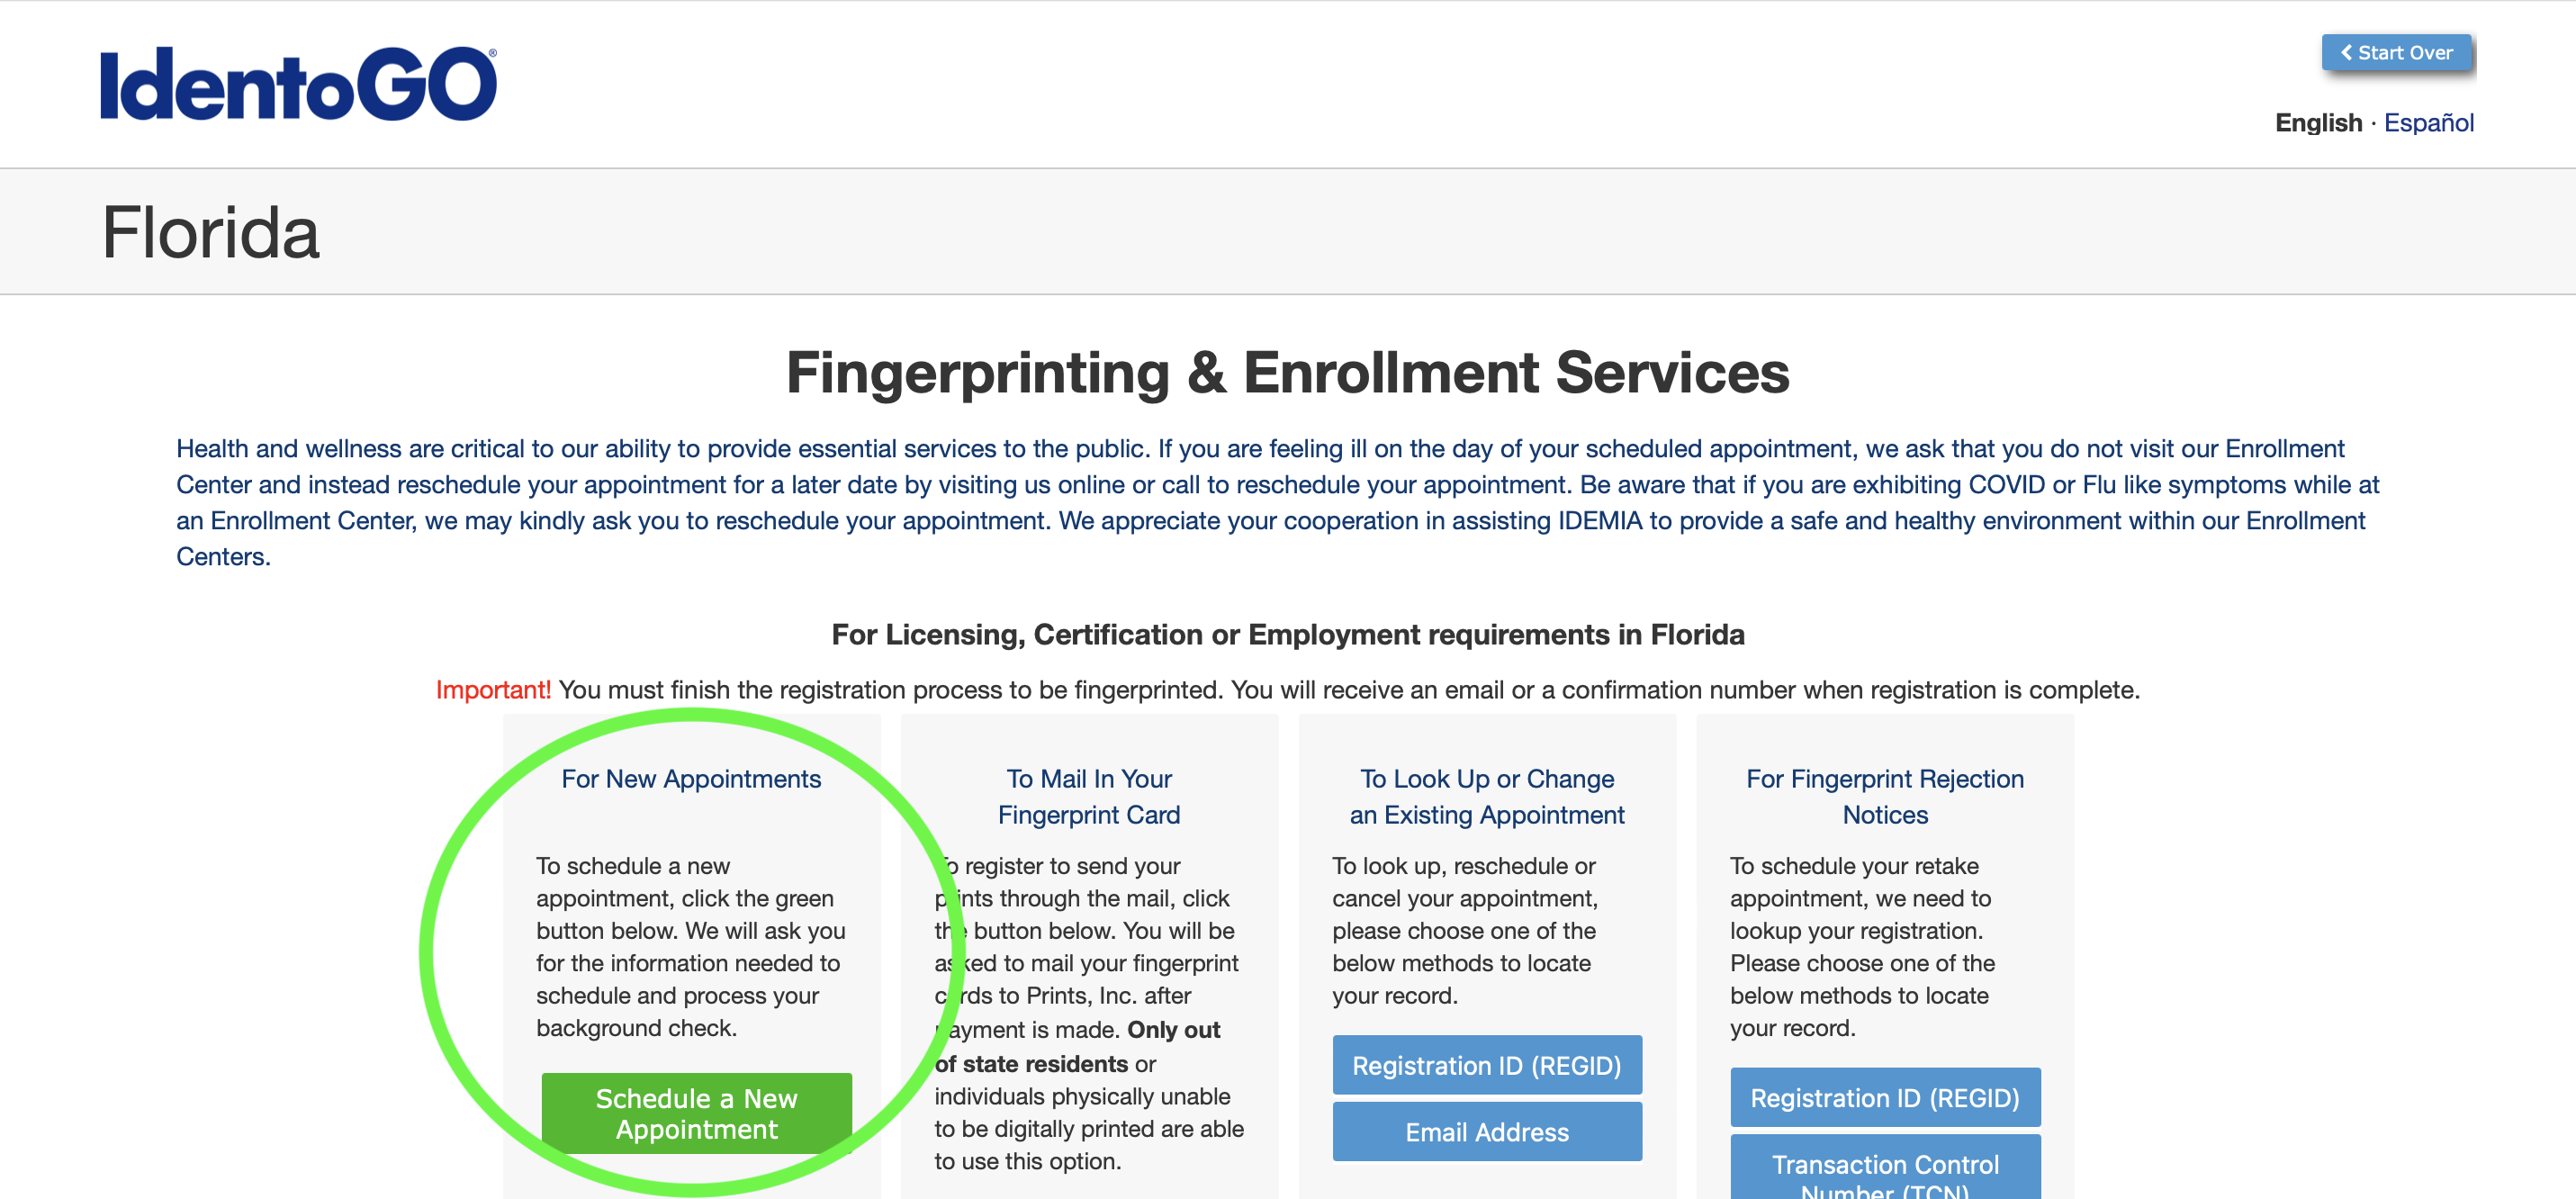
1) To schedule an appointment to get fingerprinted, go to https://fl.state.identogo.com.
2) Click the "Schedule a New Appointment" button.
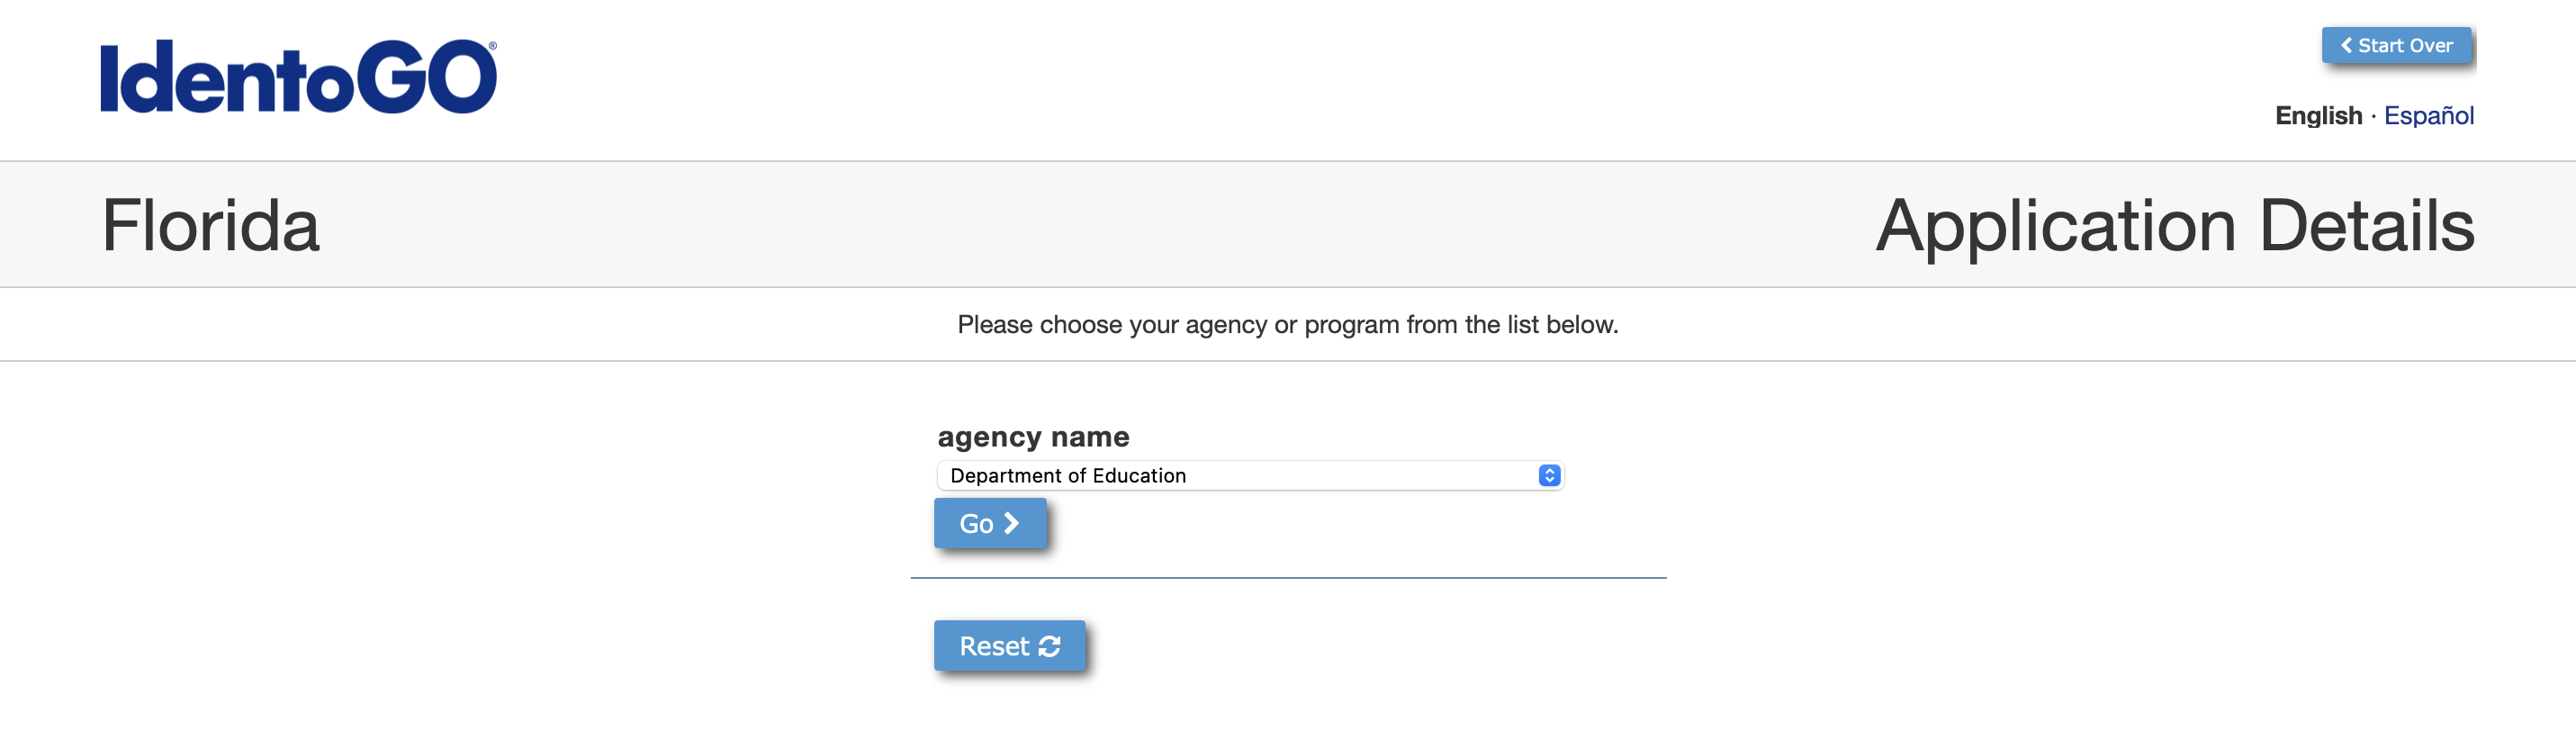
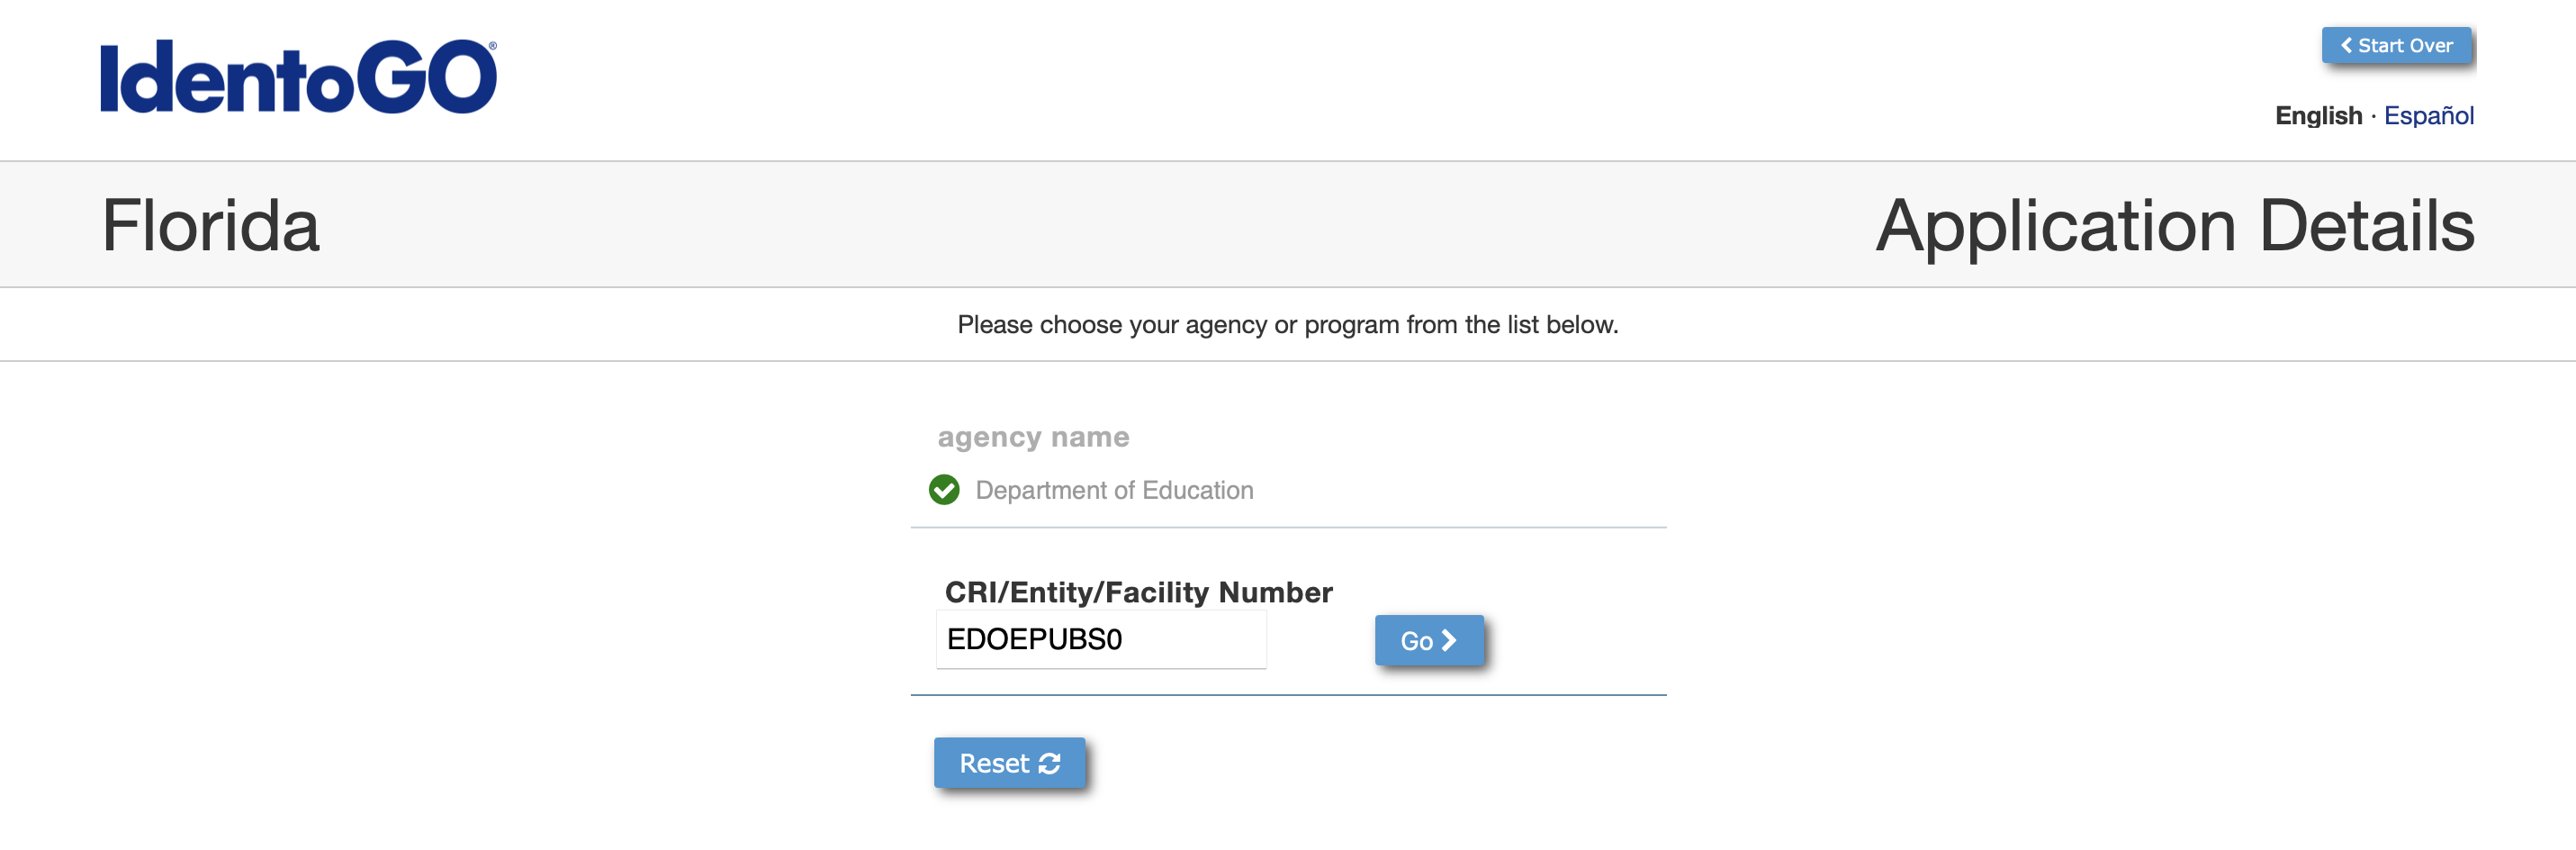
3) For Agency Name, you will select "Department of Education" from the dropdown menu and click the "Go" button.
4) For the CRI/Entity/Facility Number, type in the code EDOEPUBS0 and click the "Go" button. Note that the code ends with the number ZERO.
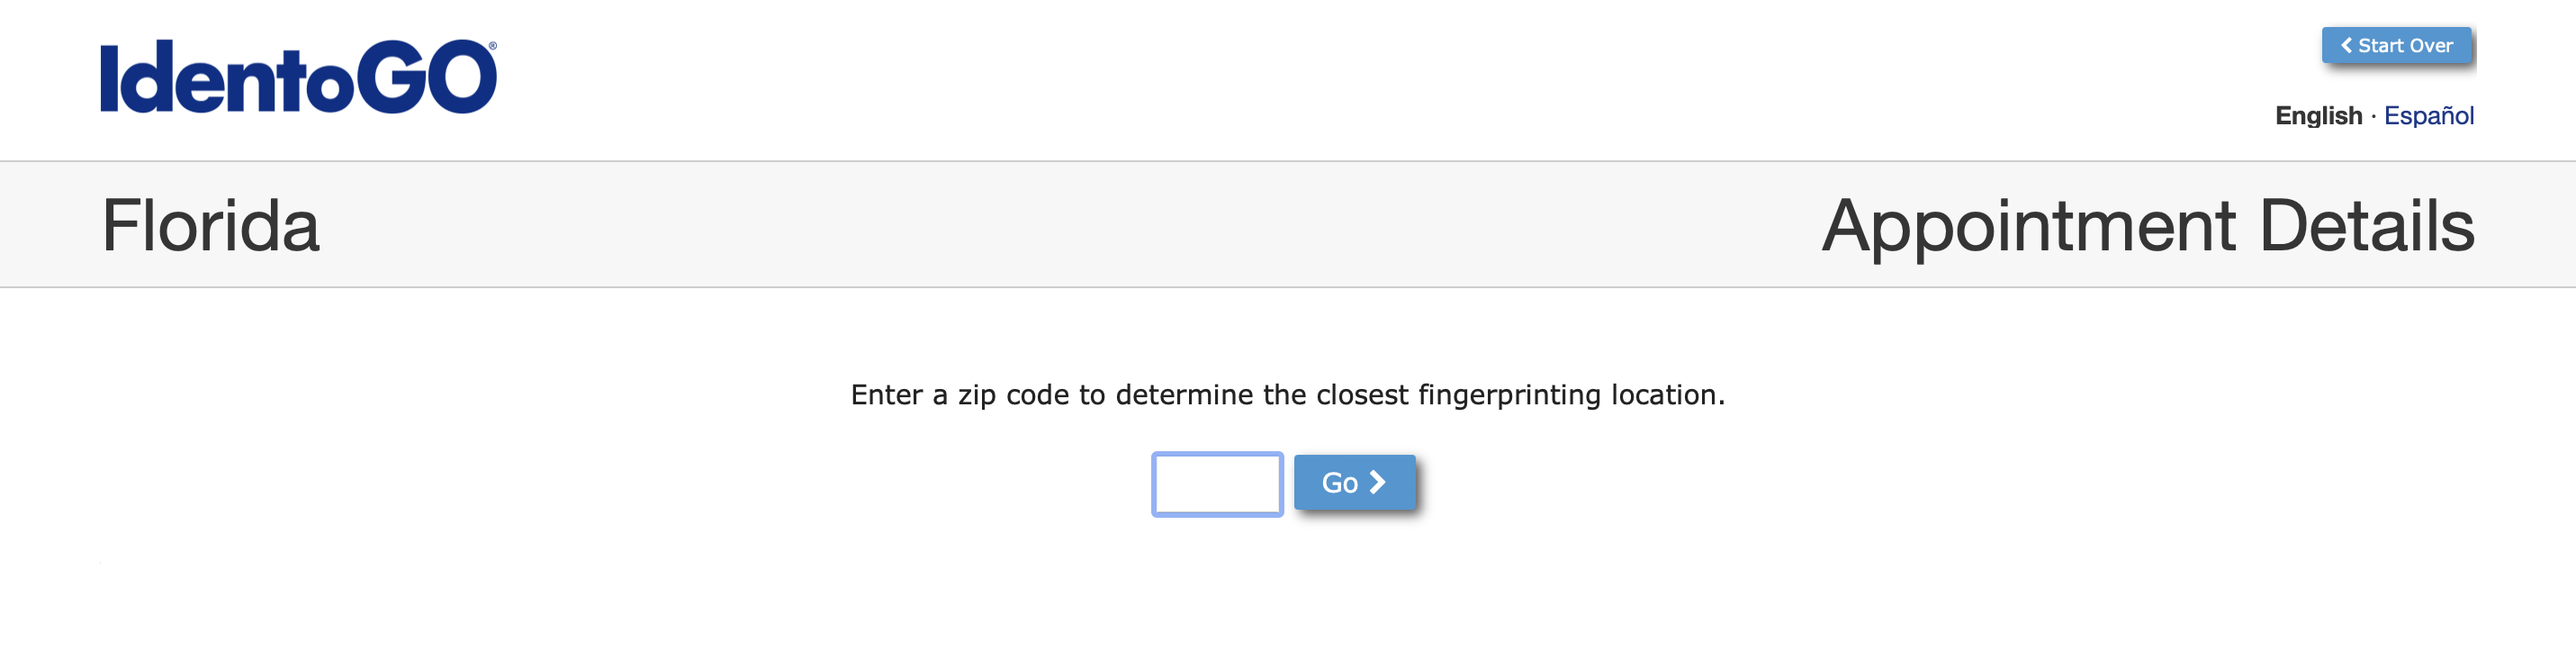
5) Enter your zip code and click the "Go" button.
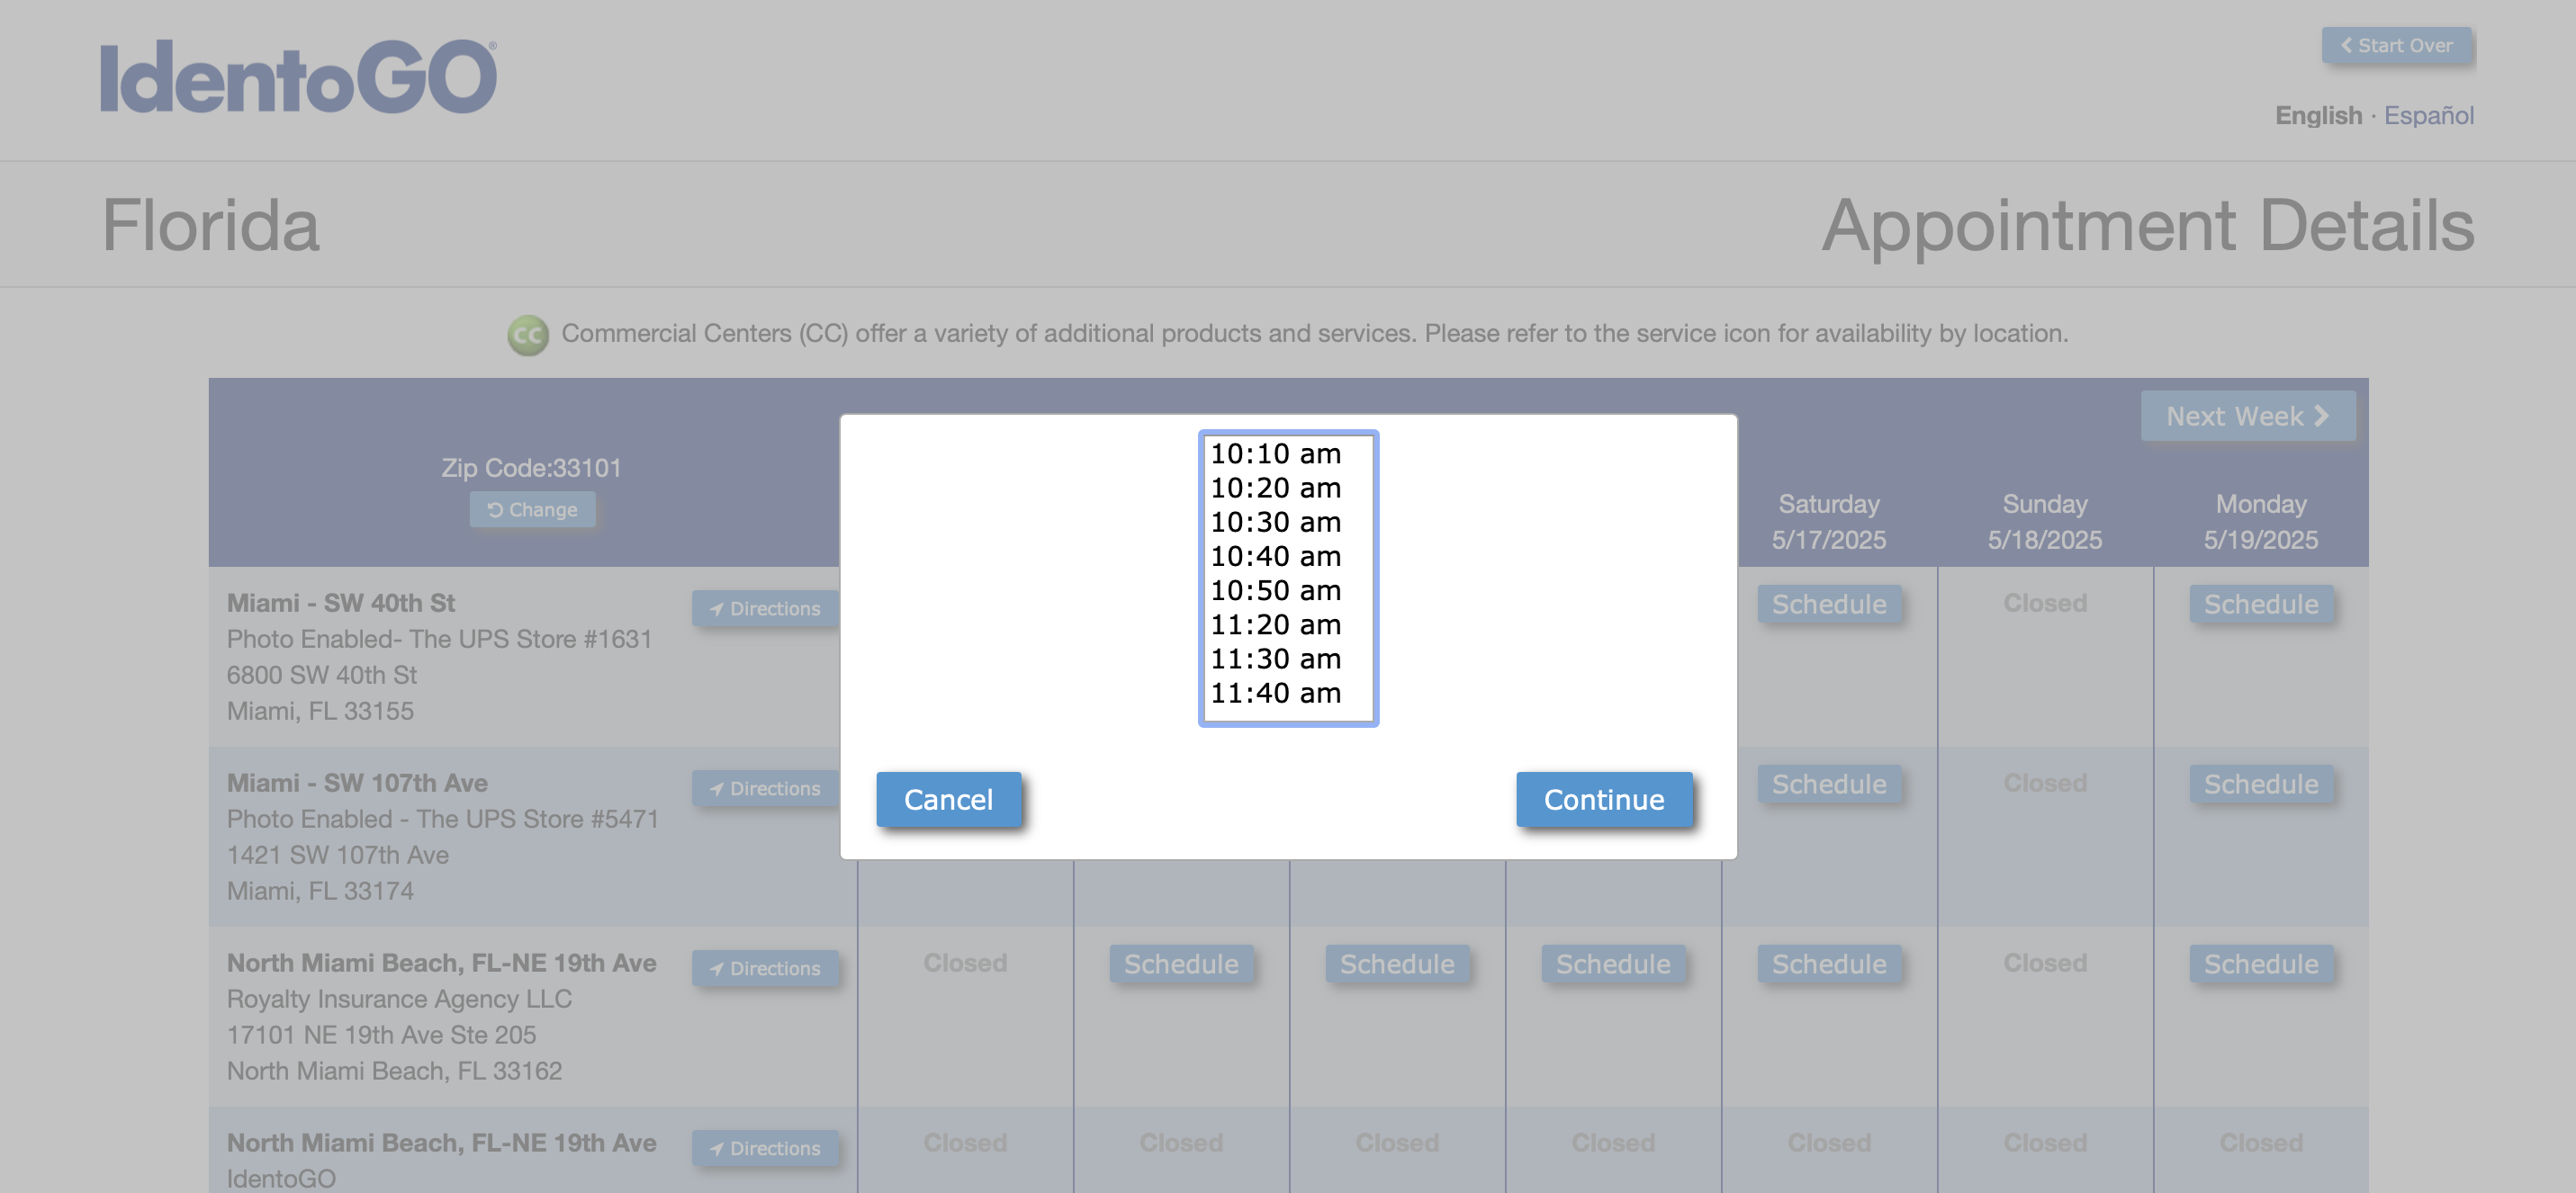
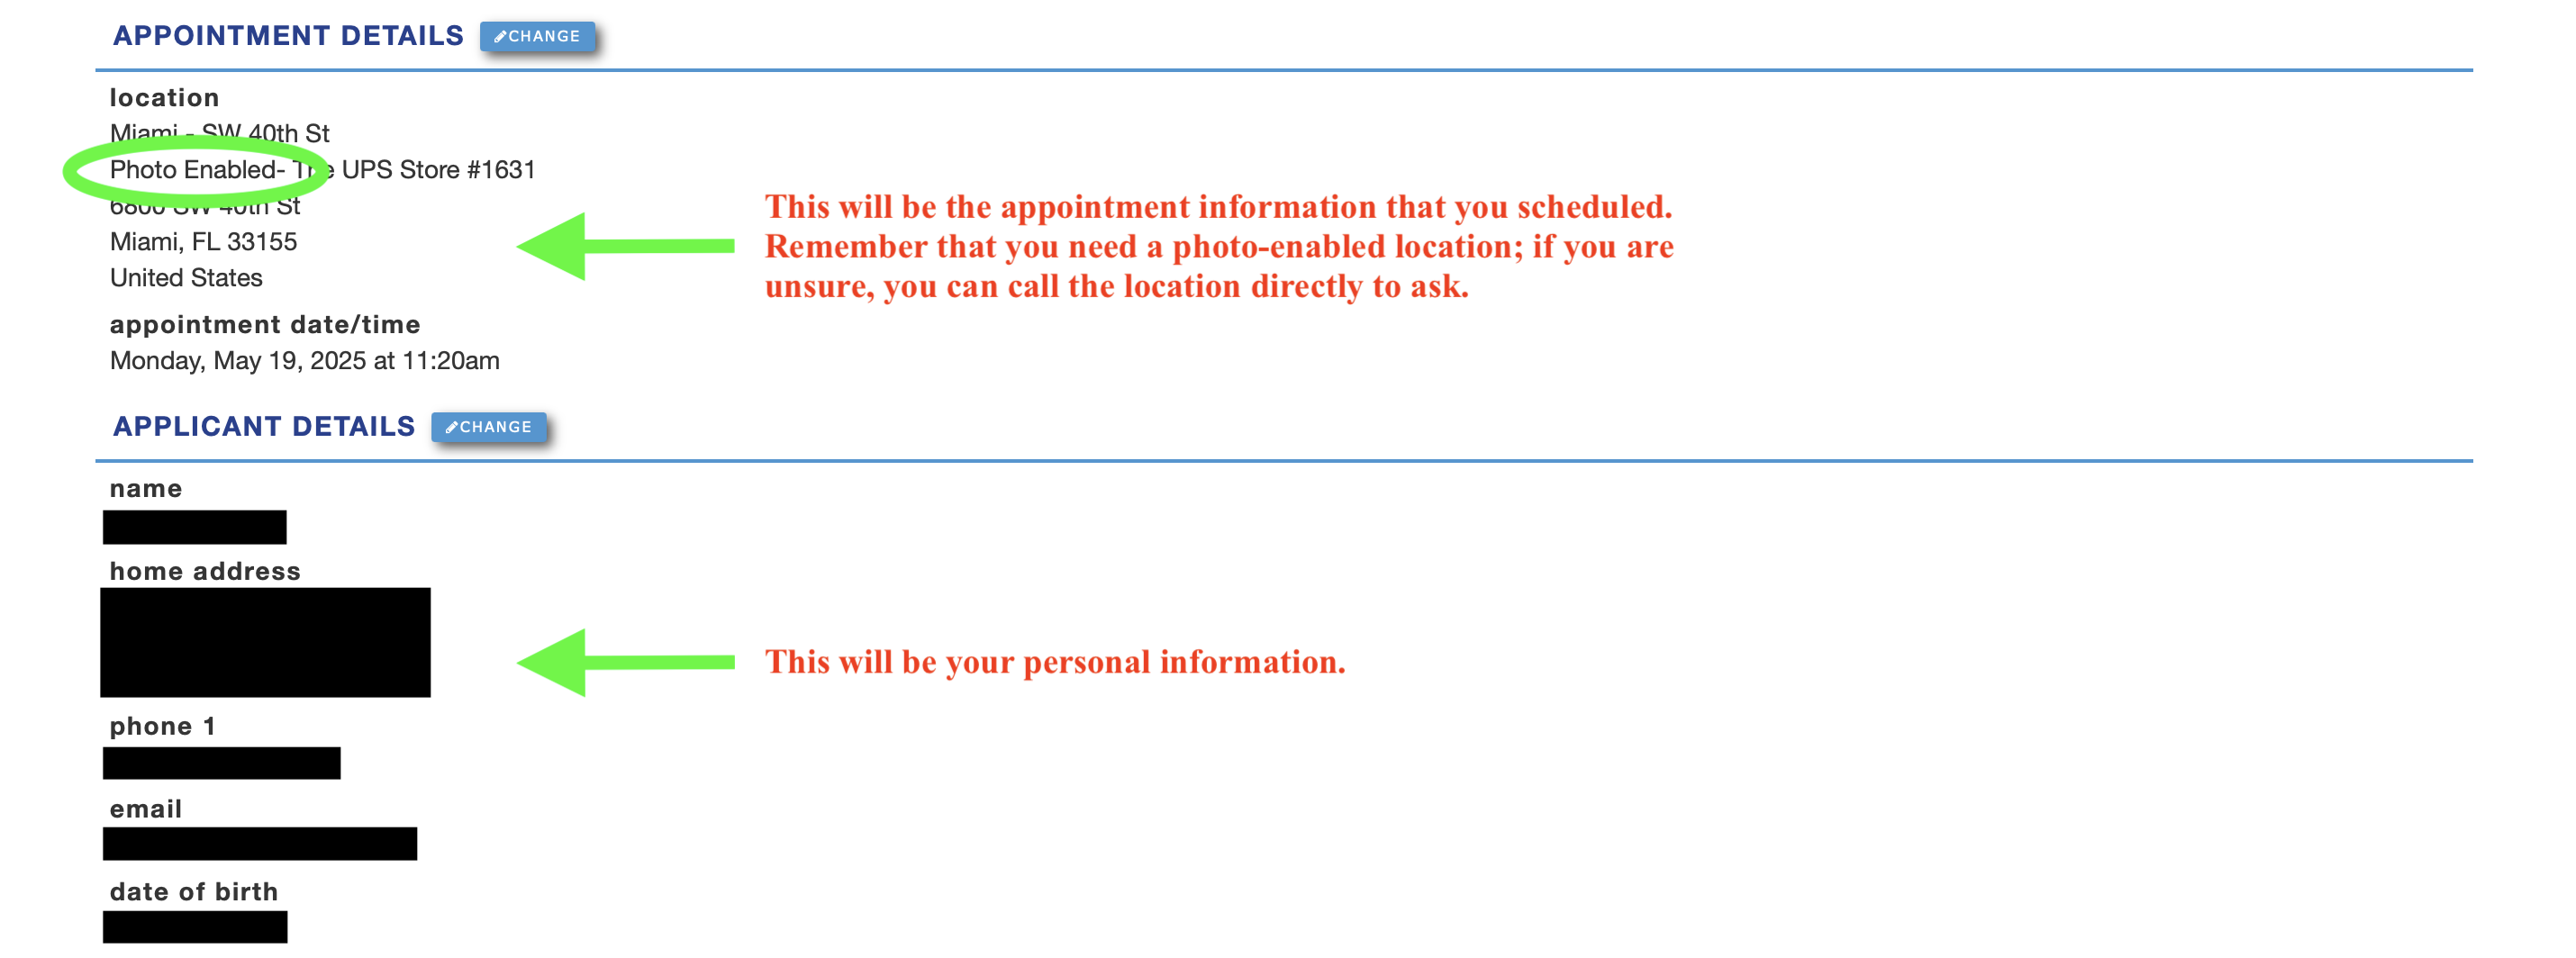
6) Browse fingerprinting locations and make sure that the location is "Photo Enabled" because this is required as part of the fingerprint process to work in schools. If you are unsure, call the location directly to ask. Choose a date to schedule your fingerprinting appointment at your desired location.

7) A pop-up will appear, allowing you to schedule a time for your fingerprinting appointment.
8) A pop-up will inform you that you need to continue through a couple more screens before your registration (appointment) is complete. Click the "Continue" button.
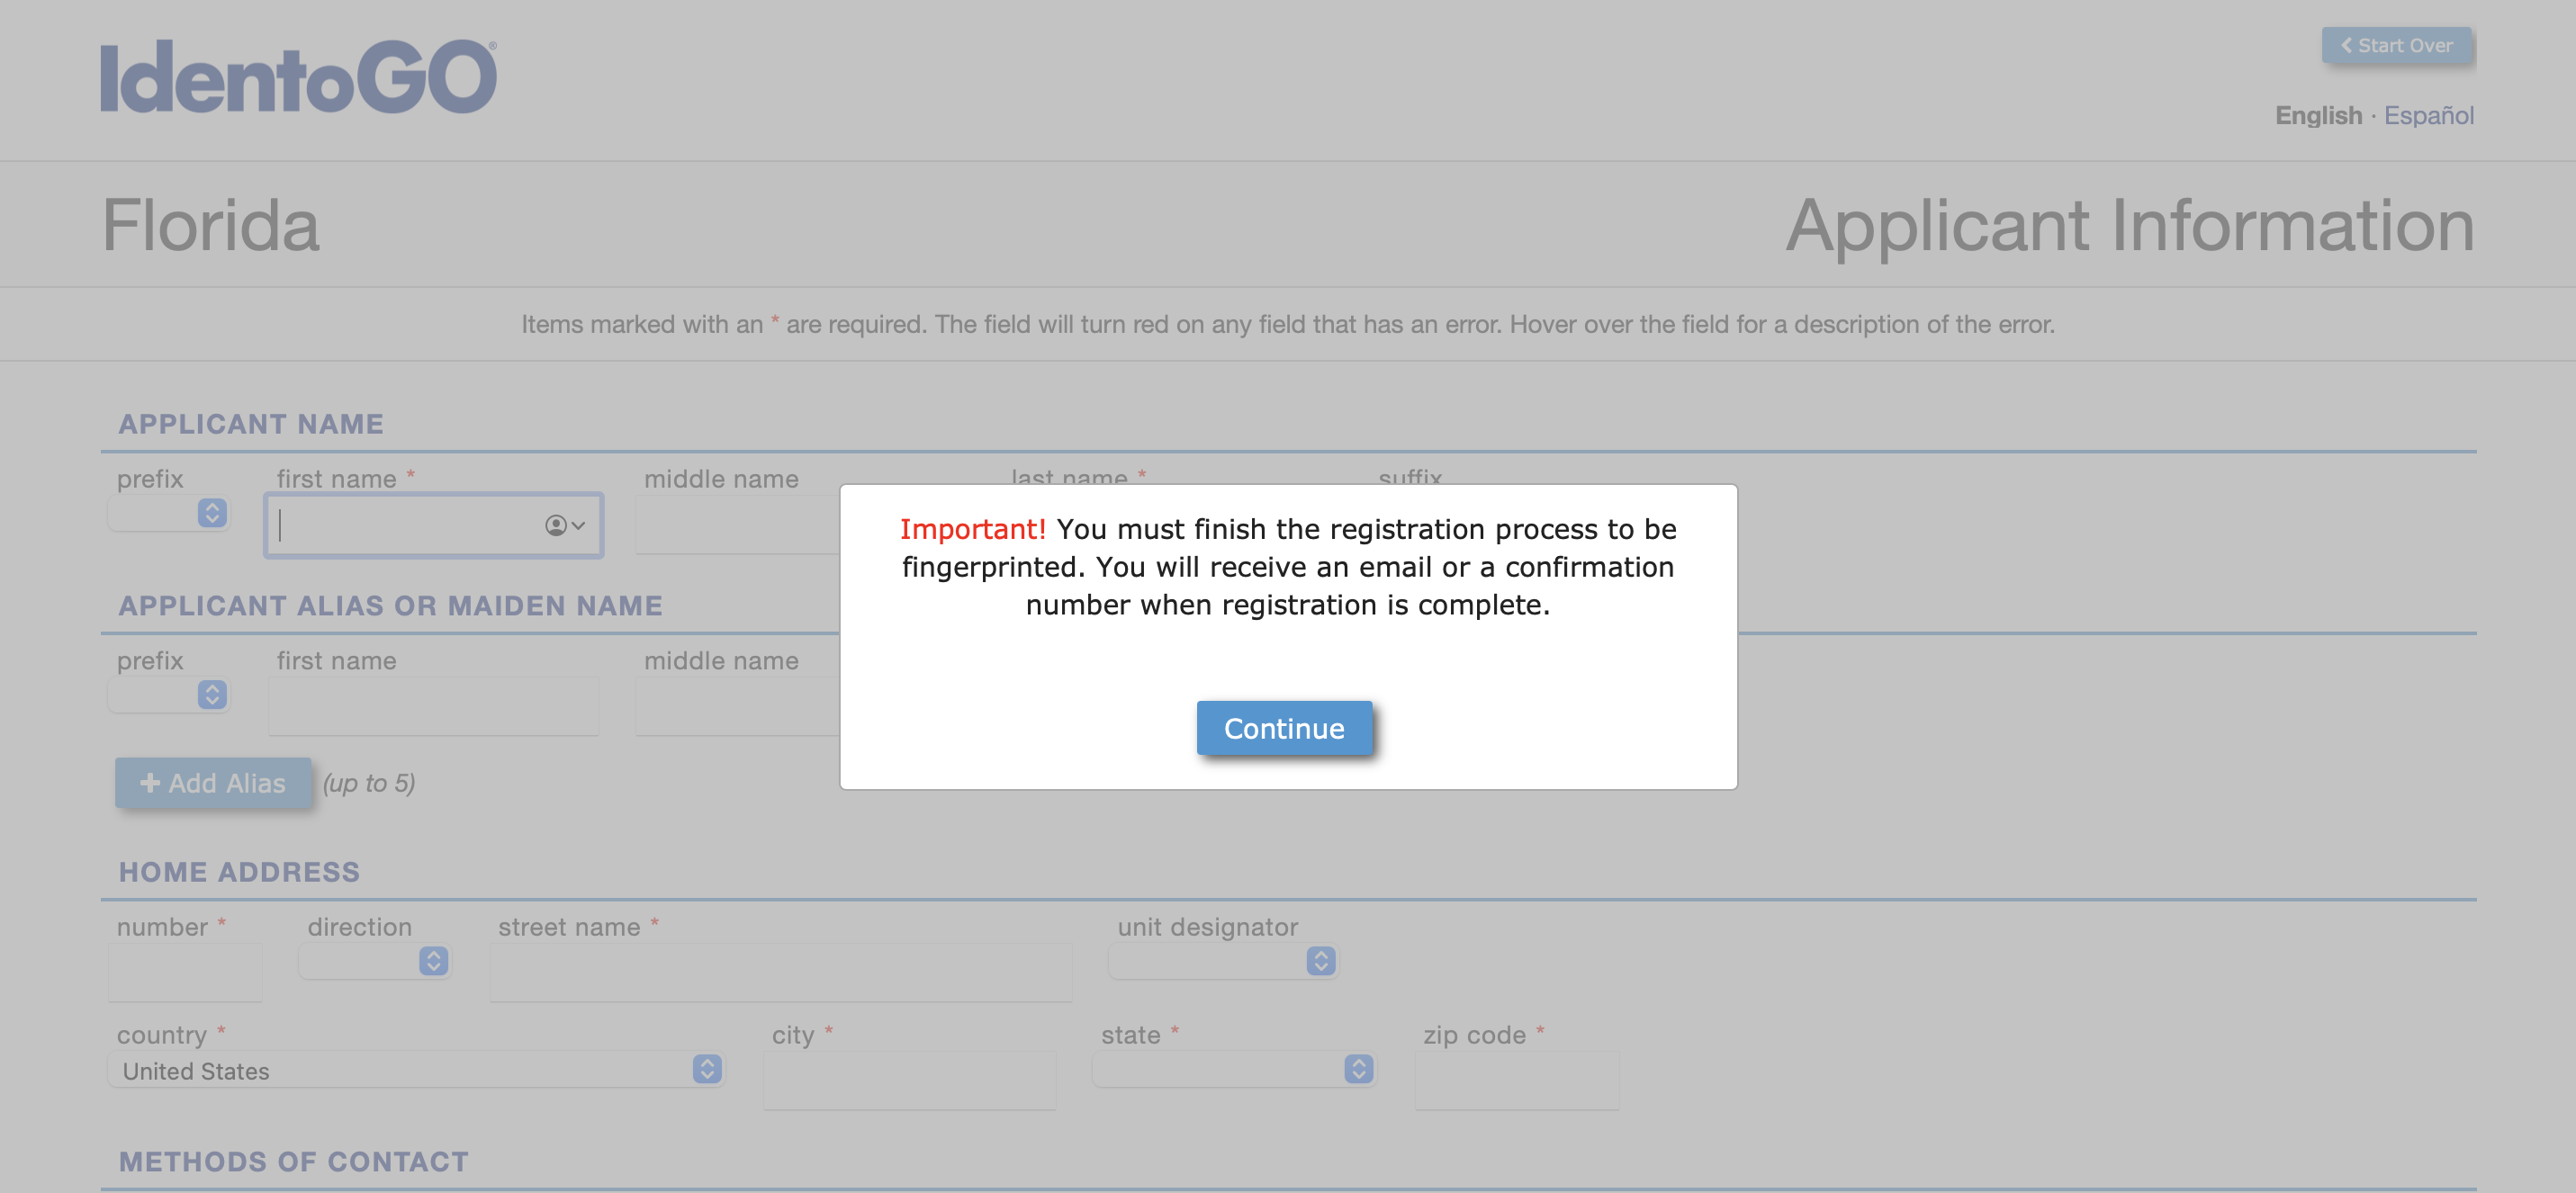
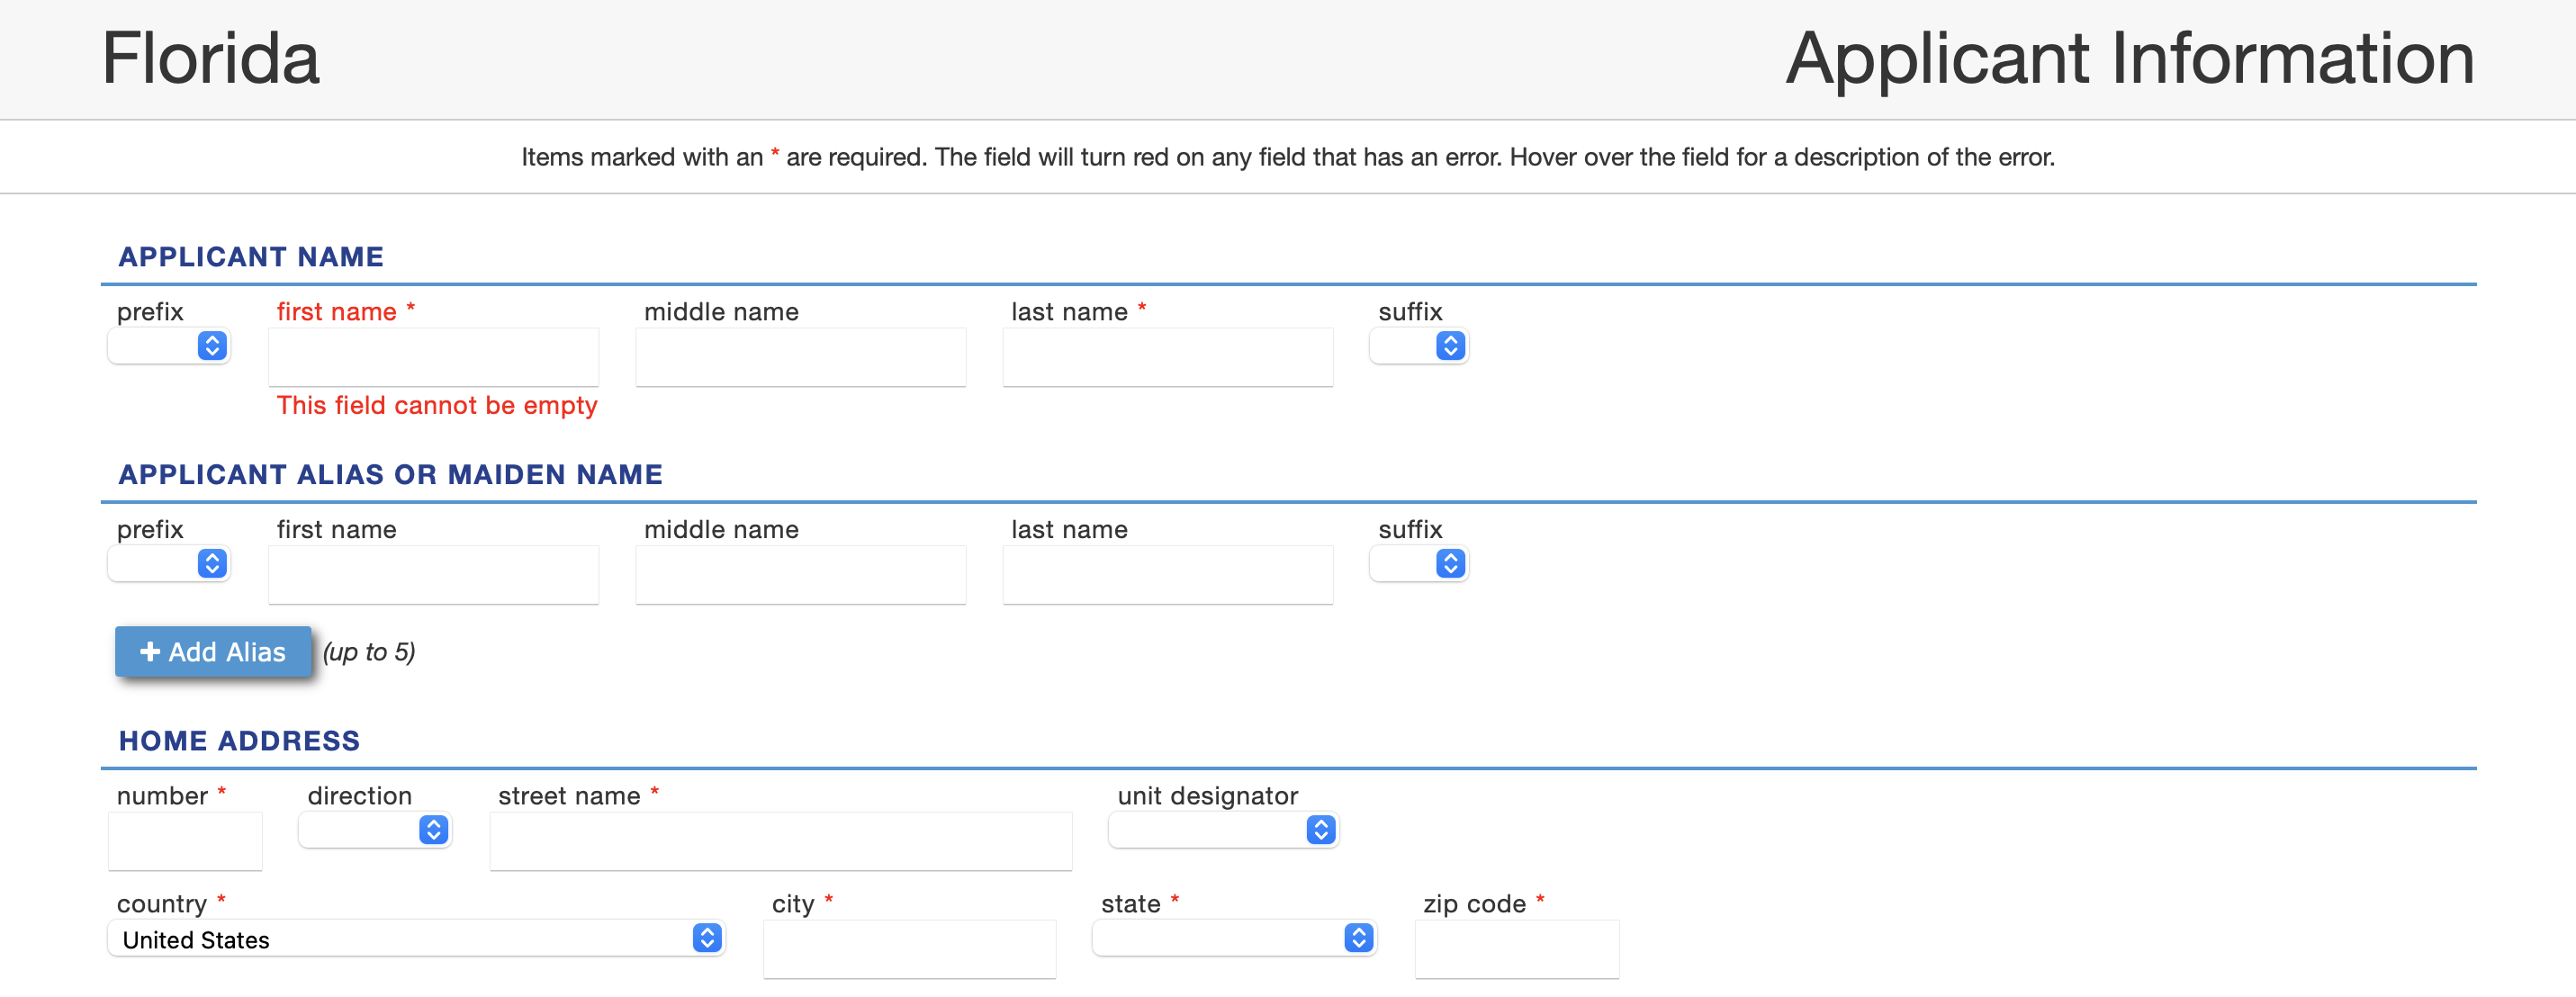
9) Enter your personal information into the required fields. Note that there is a check-box that is marked by default. You may wish to uncheck this box to opt out of marketing emails from the fingerprinting company. At the bottom, you can leave the employer information blank and click the "Submit" button.


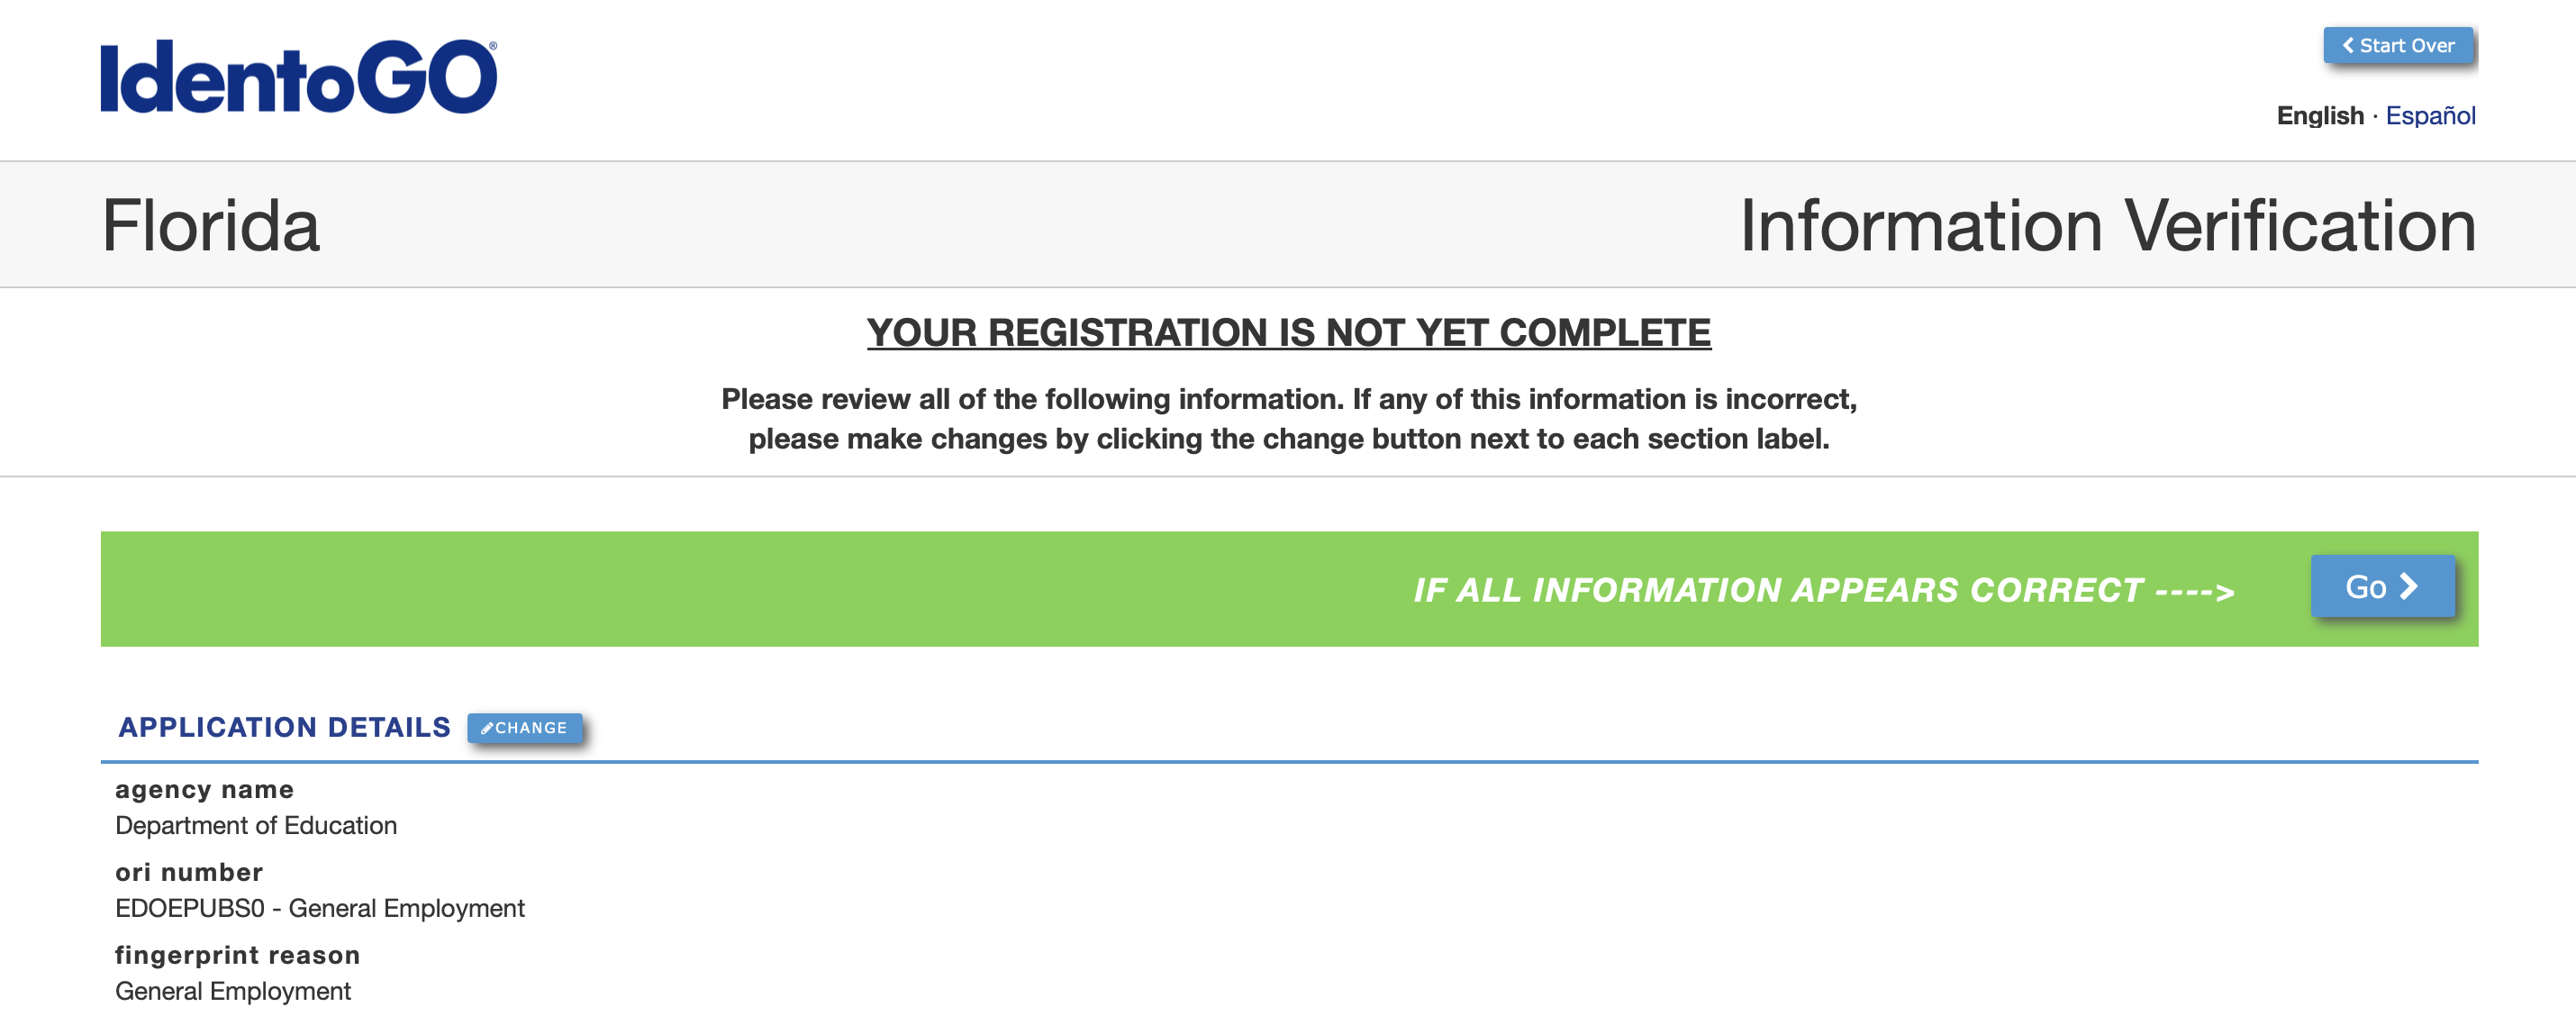
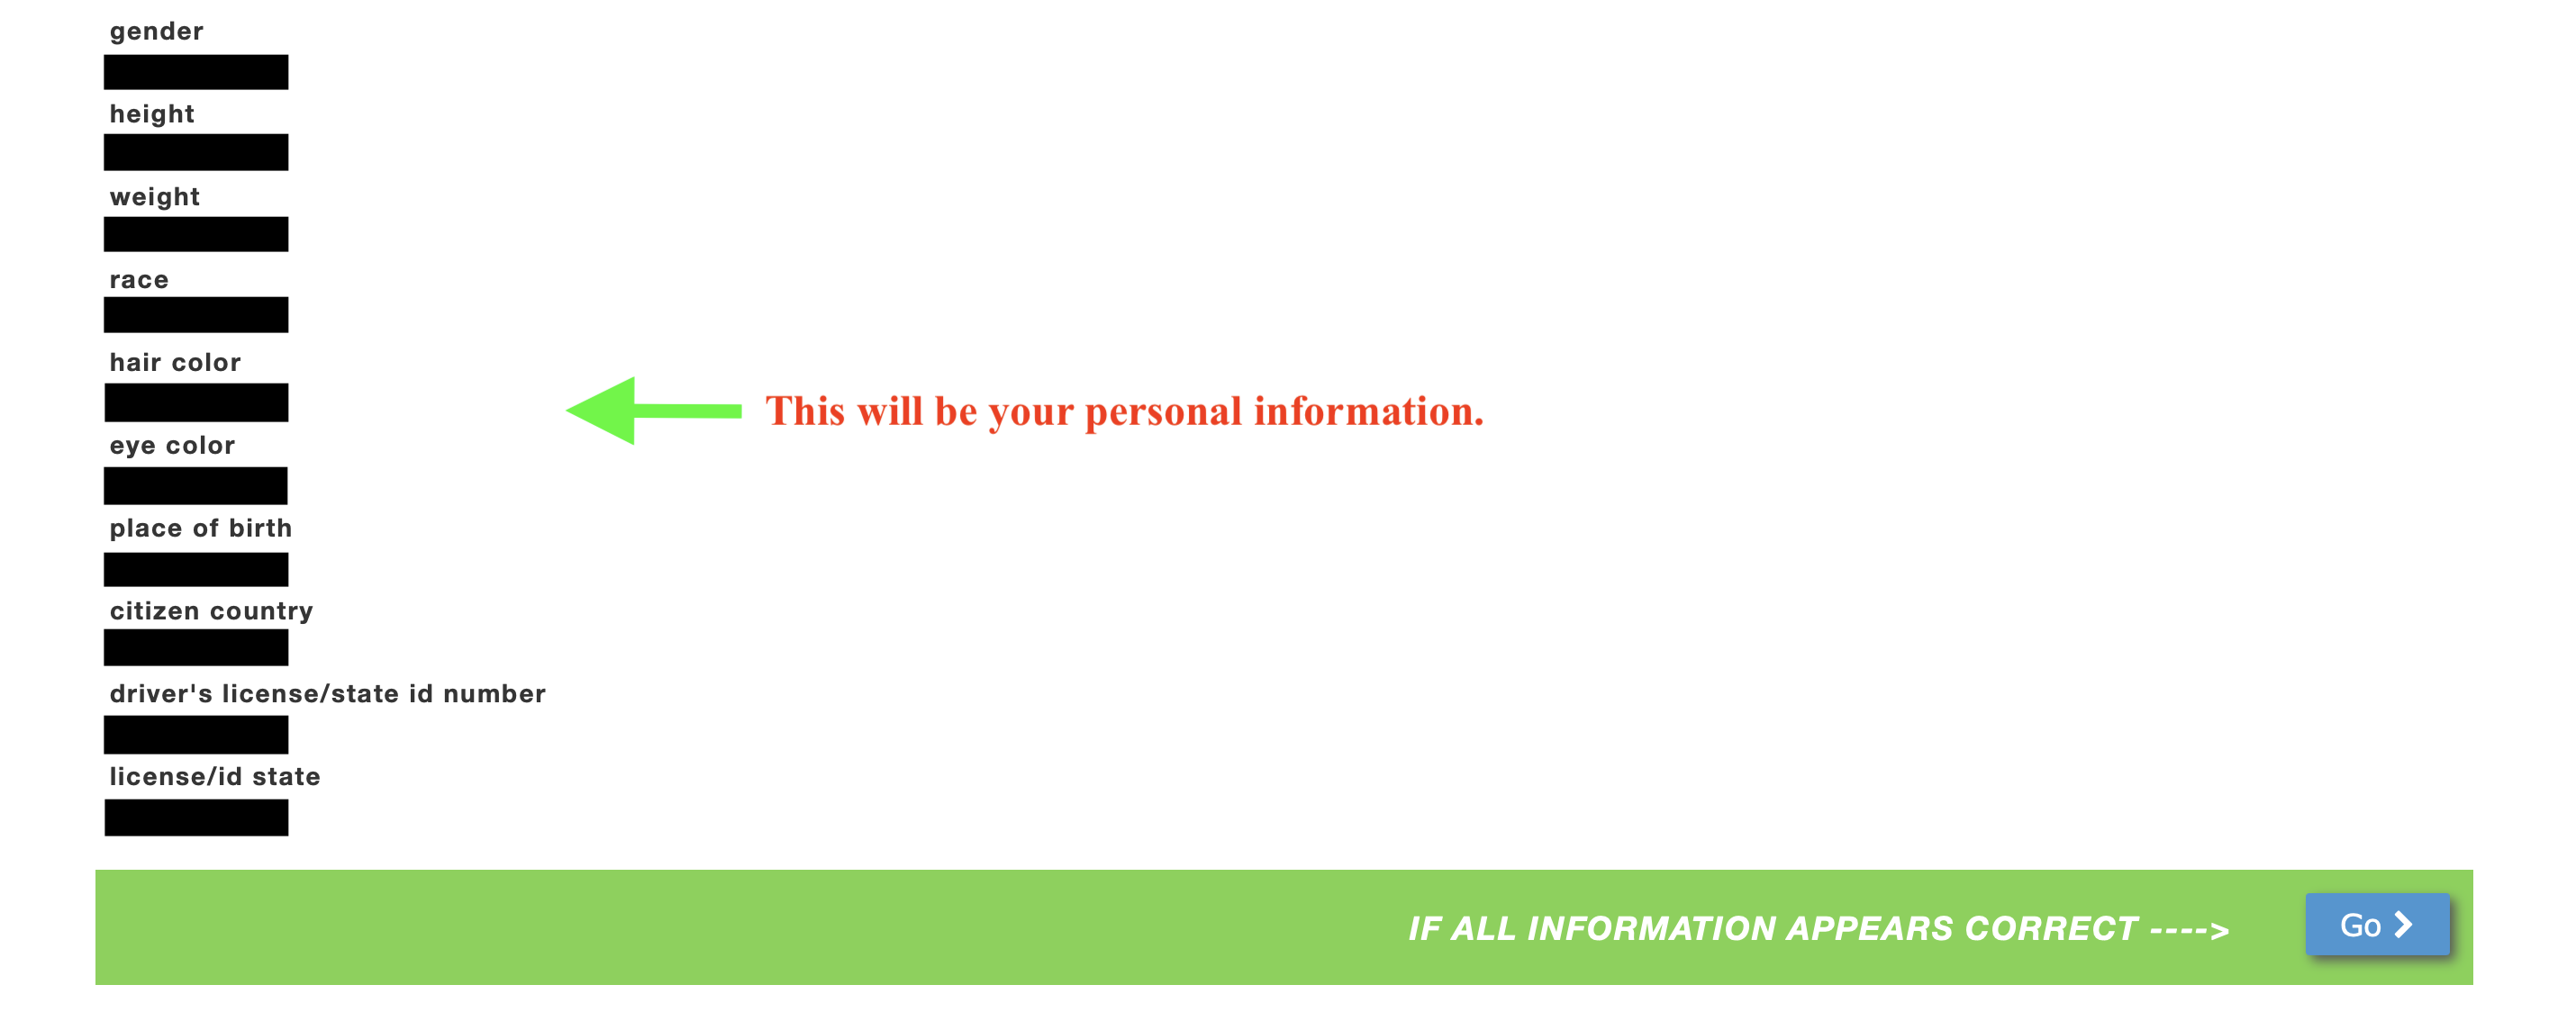
10) Next, you will be taken to a verification screen. Double check that your information is correct and then click the "Go" button.
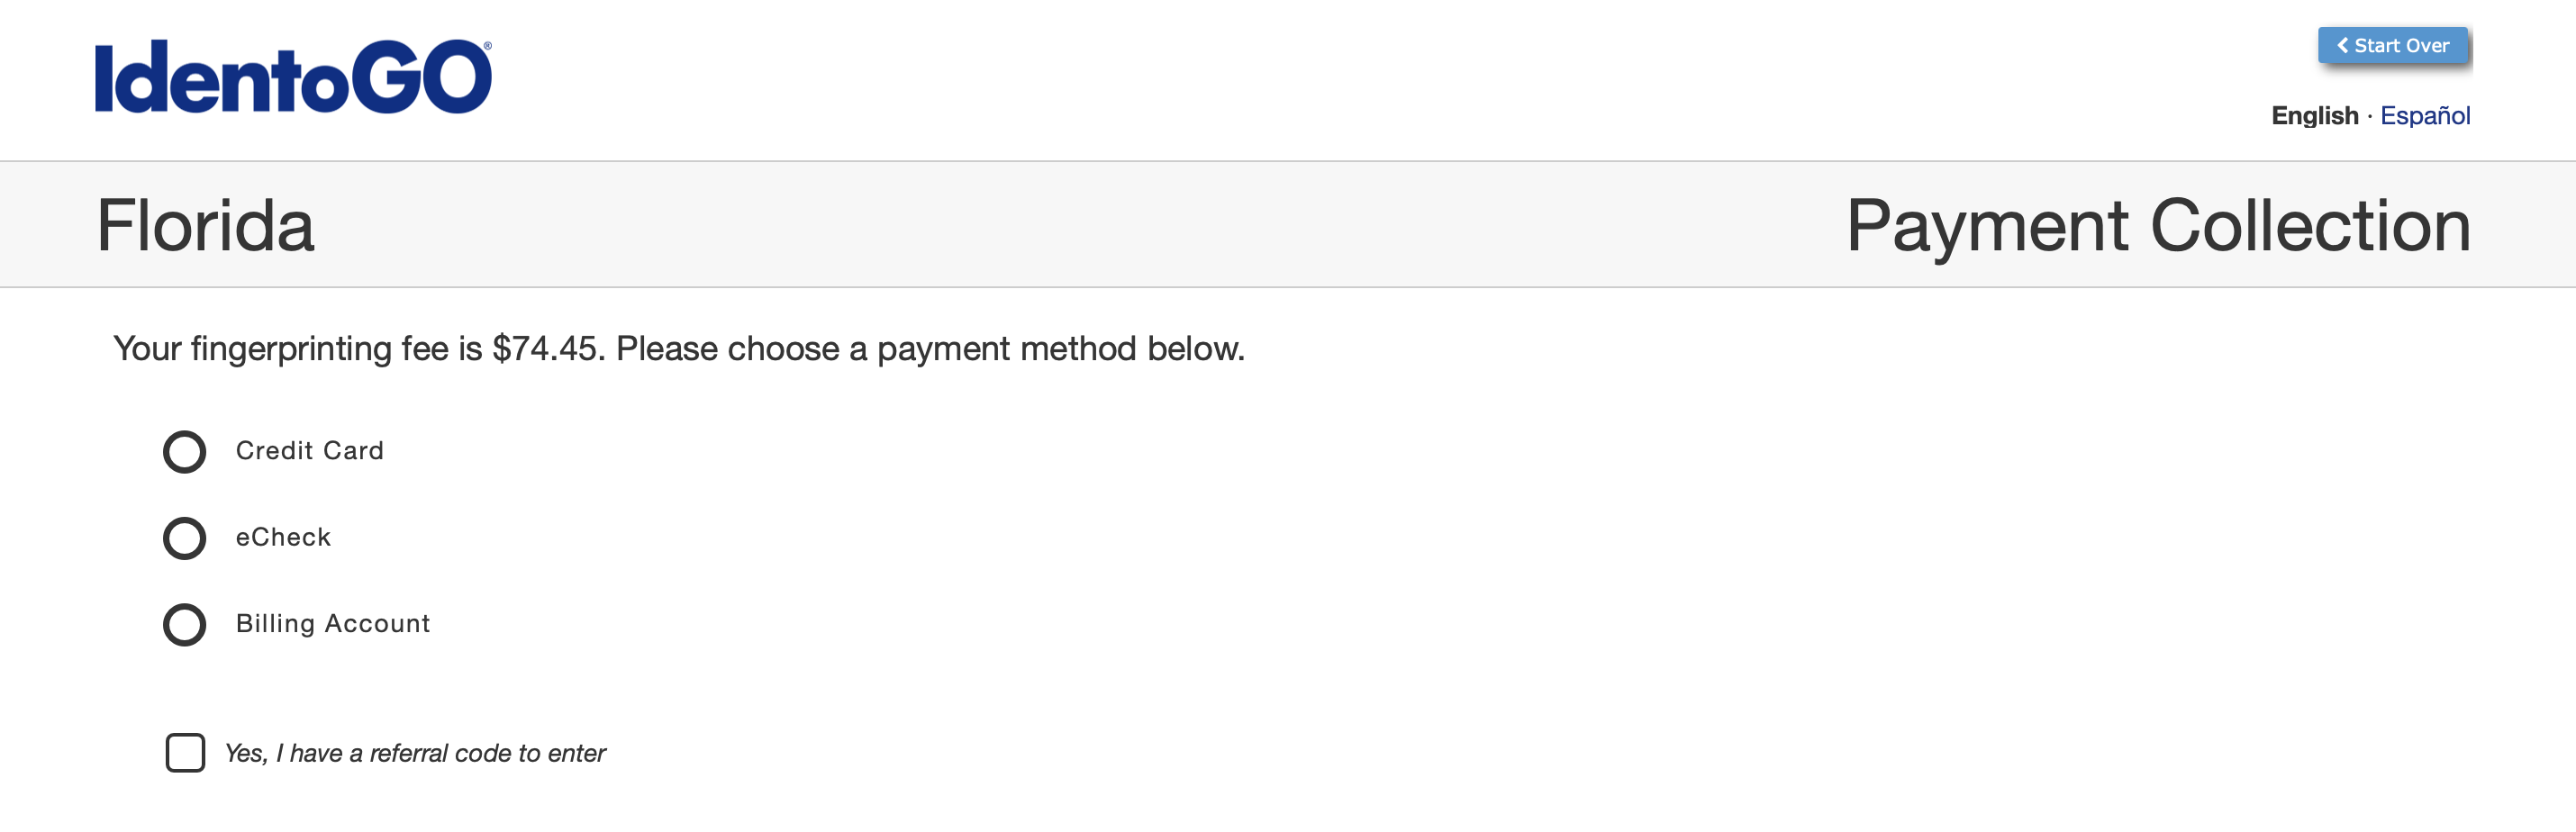
11) This will take you to the payment screen. Select your payment method.
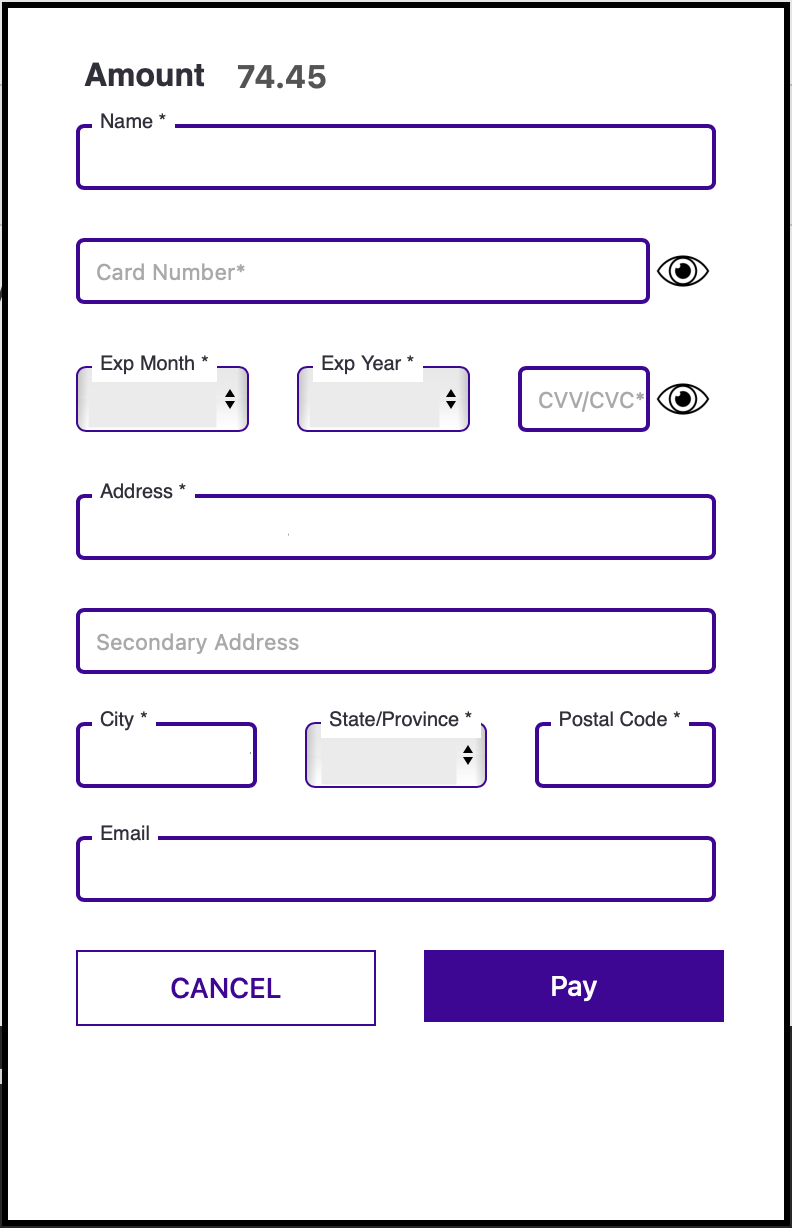
12) You will see a pop-up to enter your information; the screenshot below is for the credit card option. Enter your information and click "Pay."
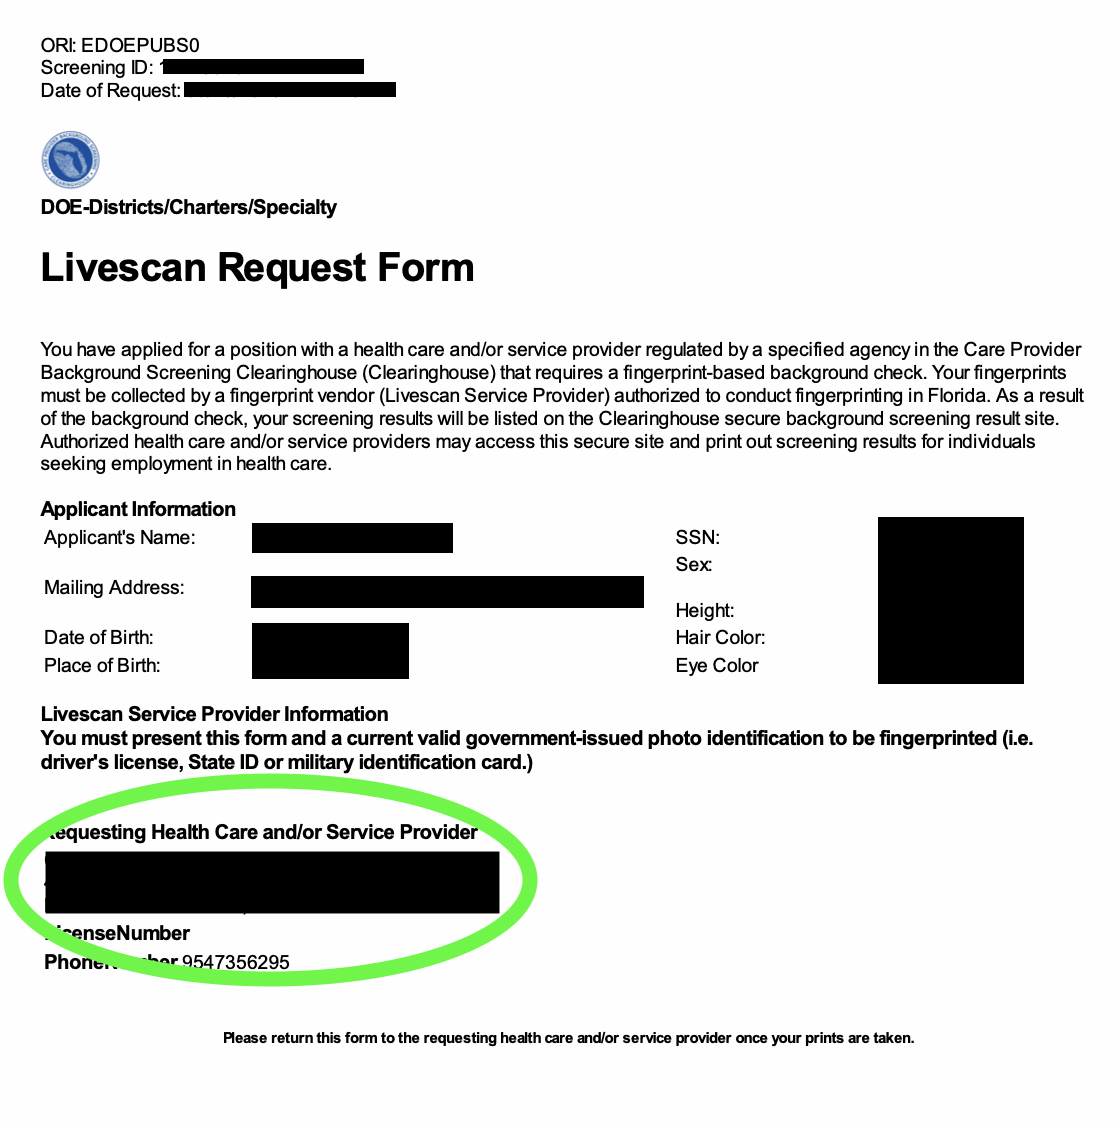
13) Finally, you will see a confirmation screen for your appointment, and you should receive an email confirmaton as well. Remember to take your state-issued photo ID and your Livescan Request Form. You should have received this in an email after completing the background screening request form during onboarding. See the screenshot below for an example of what the Livescan Request Form looks like.
Notice that it should have the correct ORI number listed at the top (EDOEPUBS0). Down at the bottom, you will see information for one of our partner schools as the Requesting Health Care and/or Service Provider. This is for background screening purposes only.